Sunday, 28 December 2014

Skin Care - Lush Haul!!!

Merry Christmas all!

I hope everyone had a wonderful Christmas and you are all ready for 2015...What are your New Years resolutions?

I recently asked my little sister to pick me up some things from the Lush Store near to where she works as there isn't one within walking distance of my work and I work in Central London!

I also went to the Lush store in London Waterloo station and picked up some more stuff!

I love Lush products, they always list all of the ingredients and the properties of the ingredients and they try and keep all their products as natural as possible. A lot of their products contain as little as 6 ingredients so you know it's not full of chemicals and craziness, just good quality products for whatever you desire...

Let me show you what I got...

One of each item that I purchased


Clockwise starting from the Yellow bath bomb:

1. Honey Bee - This bath bomb is huge! It has numerous skin soothing ingredients, Honey (obviously), Aloe Vera, Rhassoul mud which has natural cleansing properties, Orange Oil and Bergamot Oil to name a few. This bath bomb left my skin silky soft and you can purchase yours here.

2. Butterball - This is another bath bomb and by far my fave Lush product EVER, this was the very first product I tried and the one product I repurchase again and again! It has these small little Cocoa Butter bits that melt into the water, these leave the skin so soft and so moisturised, with Ylang Ylang oil which is used in aromatherapy to treat stress and depression so the scent is super relaxing and calming. Love this bath bomb! Check it out here.

3. Bubblegum Lip Scrub - Oh em gee (OMG) ... this stuff smells soooooo good! It smells like those bubblegum flavour bottle shaped sweets that they sell in the sweet shop, with the blue bottom and pink top...slightly sour...you know the ones I mean right? (it doesn't taste like them though...don't ask how I know!) I dab my finger in the jar and rub it over my lips in a circular motion (gently) and my lips feel instantly moisturised thanks to the Jojoba Oil! Defo get your own here.

4. Tea Tree Toner Tab - This product is super good if you suffer from acne, just add the tab to a bowl of boiled water (like you would use to steam your face) the steam from the water will open your pores allowing all the Tea Tree Oil and Aloe Vera goodness to clean them out! Try it out for yourself here.

5. Tea Tree Water -  I use this as a toner, it has Tea Tree oil to fight breakouts and Grapefruit oil to invigorate, brighten and refresh the skin. You can get your own here.

6. Avobath - I had never tried this bath bomb before and I still haven't used it! Not sure about the 'shimmering green effect' it is supposed to have on the water...however I am intrigued by the moisturising properties of the Olive Oil and Avocado (mashed Avocado & Olive Oil makes an amazing face & hair mask). Get yours here and let me know how you like it!

As always, you can catch me on Instagram and Twitter.

x

Sunday, 30 November 2014

Skin Care Review - GLAMGLOW ThirstyMud Hydrating Mask Review

Happy Sunday!!!

Hope you are all having a lovely relaxing Sunday :-)

So, I have been using this face mask since I got it in Sephora in the beginning of November and I am ADDICTED!!!

The GLAMGLOW masks are EVERYWHERE! I watch a lot of YouTube beauty guru's and they are always raving about these masks - so while I was in New York in October I picked a couple up.  

The first mask I used was the GLAMGLOW Thirsty Mud (or the blue one - if you identify them by colour like I do! haha!)


GLAMGLOW - Thirsty Mud
This face mask is supposed to deliver extreme hydration WITHOUT any Parabens, Sulphates or Phthalates! Woop woop!

This hydrating mask is packed with kind to skin ingredients, such as Coconut extract, Raw Honey, Apple fruit extract, Ginger root extract, Olive leaf powder, Oat bran extract - the list goes on!


The mask has a smooth consistency and smells DIVINE!

I love this mask, it does not dry and make your face tight like normal masks, you just apply a thin layer over your clean dry face and then after 10 - 15 mins, you just wipe the excess off (I use a cotton pad), then rub the remainder into your skin - I do not wash mine off!

I use this mask in the evening and then when I wake up in the morning my skin is still super soft, hydrated, smooth and luminous. I also like to use this face mask after I have done a mud mask (specifically the ones for breakouts as these can leave my skin so dry and tight). Obviously everyone's skin is different so I would recommend buying the smaller version to see how your skin reacts to the product (especially if you have oily, or sensitive skin) before making the splurge to the large size!

The only Con of this mask is the price though! I got mine from Sephora for $19 as I got the small size, the big size is a mega $69 - which is soooooo expensive! These are also available in the UK now at a number of different stores, I saw them on feelunique.com for around £49.99 which again I think is expensive for a face mask! But hey, I suppose as it works really well GLAMGLOW can wack a huge price tag on it! When my small one runs out I will defo get the larger size ... oh and probs the white one to ;-)

Until next time you can follow me on Instagram and Twitter 

x

Tuesday, 25 November 2014

Make Up - LimeCrime 'Utopia' & MAC 'Magenta' Lip Liner

Hey guys,

I'm back!!!!

As some of you may know I went to New York a few weeks ago and LOVED IT! I just love the whole atmosphere of NY, the people are nice, there is so much good food to eat, so many good shops, and everything is much cheaper than here in London! ;-)

Today I am showing you guys the lip combo I have been loving lately...a few months back all I saw on Instagram was these LimeCrime Velvetine lip colours, that go on as a liquid and dry matte, so I hunted down any UK sellers to get my hands on them...

Velvetines
I got this shade 'Utopia' - a bright purple
 

So with matte lip colours I always use a lip liner to not only line my lips but to fill the whole damn thing in! Nobody wants that cracking look on their lips that matte lipsticks tend to leave...


LimeCrime 'Utopia'


LipCrime 'Utopia' & MAC lip liner 'Magenta' perfect match right?

Here is what I do...

Step 1 - I used my MAC lip liner in 'Magenta' (this was given to me in MAC to go with Heroine..but it matches the LimeCrime 'Utopia' shade perfectly!) I use the lip liner to line my lips first, then I fill in the whole lip.

Step 2 - I take my LimeCrime Velvetine and go over my lips with a thin coat, it goes on shiny so I give it a few seconds to dry and go completely matte.

Step 3 - For the ultimate all day staying power, I go over my lips lightly with my pressed powder, DO NOT USE A LOT OF POWDER, just a light brushing - then I repeat steps 1 & 2 again.

Trust me when I say these steps do not take long at all AND this lip combo will not budge! I did this in the morning and the colour lasted all day at work, and I'm talking it lasted through me drinking cups of tea, eating lunch and fruit, talking etc. It did not budge!

Let me know your favourite lip combos and how you apply them to make them last all day or all night ;-)

Follow me on Twitter and Instagram....

x


Sunday, 19 October 2014

Skin Care Review - Clinique's Take The Day Off Cleansing Balm

Hi Guys,

There is only a week and a half left until I fly off to New York for 5 days and I cannot wait!!!!!!

I really love New York, everyone is so friendly and nice, there is so much good food and so many things to buy! ;-)

If there is anywhere you think I should check out then please leave it in the comments below or on my Twitter! ;-)

So today I have another review for you, 2 weeks ago I went into the drugstore Boots in Central London near to where I work and picked up the Clinique take the day off Cleansing Balm.

I had been looking for a cleansing balm for a while to use over the up coming winter months, to remove all traces off make up, cleanse my skin and also to moisturise my skin - there are so many out there but I chose this one!


Clinique's cleansing balm is a little pricey at around £22 but it is so worth it!

The balm has safflower seed oil which acts as protective barrier in preventing water (moisture) from leaving the skin, it works to soften, smooth roughness and soothe some skin conditions.

The balm has a solid texture that slowly melts into a lightweight oil as you work it between your fingertips and onto your face, it has no scent and did not sting or cause any breakouts.  

If there is any make-up or mascara that my Simple face wipes didn't remove, it will simply melt away with this balm, I take a pea sized amount (use any more than that and it's a waste!) and I use my fingertips to massage it into my face, I massage it in for a good 60 seconds and then use a damp muslin cloth to gently wipe the product away. I then splash my face with cold water to close my pores, and then follow with my toner, serum and moisturiser.  

My face feels supple, soft and moisturised after using this, so if you are looking for a new cleaner to provide that extra moisture needed during those winter months, I would defo say try this one!

Follow me on Twitter and Instagram as I will be uploading pictures daily of my New York adventure!

Mwah x

Saturday, 11 October 2014

Skin Care Review - L'Oreal Skin Perfection Advanced Correcting Serum


The L'Oreal Skin Perfection range is aimed at those aged 20 to early 30's, and there are a number of different products which you can check out here.

''New Skin Perfection Advanced Serum, a powerful formula enriched with Perline-P and patented LR 2412, helps transform the appearance of skin quality, as if perfected. Designed to penetrate through the skin's epidermis layers.'' - L'Oreal

I bought this serum in the drugstore Boots around 4 weeks ago and have been applying it to my face twice a day religiously!


I use 1 pump of product before my moisturiser and it makes my skin feel super smooth and soft, after 4 weeks of use I can honestly say it has really brightened the appearance of my skin tone, acne marks are fading and the biggest bonus is it doesn't irritate or break my skin out!

Will I repurchase? Yes for shore, especially over the autumn and winter months when my skin is a little dryer and in need of extra hydration, as this serum has been providing that extra barrier needed under my moisturiser.

I love the packaging as well ;-)

So due to the success of this serum, I'm going to try some of the other products from the L'Oreal Skin Perfection range but what next...???

Until next time, you can find me on Twitter and Instagram (click the links left of this post)

x

Sunday, 21 September 2014

Natural Hair Care - Homemade Leave-In Conditioner

Hi guys!

Yesterday I made my own homemade leave-in conditioner and I thought I would share how I made it with you all...

Let's go from left to right...

First on the left is 100% pure natural Shea Butter, I got this in New York in January and have soooo much left! - Shea Butter is a natural hair growth stimulant, it softens the hair, protects from UV rays from the sun, conditions dry or brittle hair....the properties are endless!

Second is my 100% organic natural Castor Oil - it thickens hair, increases hair growth, reduces hair damage and eliminates dry hair.

Third is Natural, Organic, Unrefined, Virgin Coconut Oil by the brand Biona - which will moisturise the hair due to its vitamin E content, and being rich in Lauric and Capric acids...and it smells so good :-)

Then last is what all my natural sista's know about...I hope! It's the Cantu Shea Butter Leave In Conditioning Repair Cream...I started using this when I was transitioning and it was really good, it's just not rich enough to tame my wild curly mane anymore.

Now here's how I make the leave in...

Step 1 - Take 2 tablespoons of the Shea Butter and 1 tablespoon of the Coconut Oil and put this into the microwave until it softens and starts to melt (as you know Shea Butter and Coconut Oil turn to solid when they drop below a certain temperature right?)

Step 2 - Once softened add the 2 oils to a blender, then add 4 tablespoons of the Cantu Leave in (or whichever leave in you prefer) to the blender and blend on high for 1 minute.

Step 3 - Add 3 tablespoons of Castor Oil and blend on high for a few minutes. You want to blend these ingredients for a good few minutes to ensure they are smooth and properly combined, the consistency should be like yogurt.


As you can see, my leave-in is smooth and no ingredients are separate, once the oils have reached room temperature again it makes the leave-in a thick whipped texture which is devine!

And that's it! You're done ;-) its super simple and easy to make! I stored mine in a tub I had already and it was good to go.

Follow me on social media and let me know how you like the leave in.

Until next time...Mwah! x

Saturday, 2 August 2014

Natural Hair Care - Organic Castor Oil

I'm back!!!

Sooooo sorry I haven't posted in a few weeks, I was going through the hardcore job hunting process and finally I've got a new job! woop woop. It's a really good job with a really good company and I cant wait to start....roll on 18th August!
 

All the sayings about working hard and believing in yourself are so true and really work. If you believe in yourself and think positive then positive things will happen ;-)

Most importantly - don't let other peoples negative opinions or negativity in general bring you down! It's your life not theirs!

Let's talk hair....

Pure Organic, Cold Pressed Castor Oil


Organic Cold Pressed Castor Oil
Properties of Castor Oil for the hair:
  1. Improves Scalp Circulation - which can stimulate hair growth.
  2. Prevents Hair Loss - Castor Oil has anti fungal and antibacterial properties which are helpful in combatting scalp infections that lead to hair loss.
  3. Adds Shine - Castor Oil coats the hair shaft, which seals in moisture and gives a silkier, shiny surface :-)
  4. Moisturising hair - The Omega 6 fatty acids found in Castor Oil can help stop the scalp from drying out, and with regular use it encourages thicker hair growth.
  5. Stops Split Ends - The Vitamin E, Omega 6 fatty acids, proteins and other essential nutrients found in Castor Oil make it amazing for those prone to split ends, as it smooths rough cuticles and helps the hair shaft retain moisture.
How to use Castor Oil on the hair:
  1. Coat hair in Castor Oil and cover hair with a plastic cap, leave on over night and shampoo and condition in the morning.
  2. Apple a small amount of Castor Oil to the ends of the hair, style as usual.
  3. Add Castor Oil to your hair spritz with other oils such as Olive oil, Jojoba Oil, Coconut Oil, (or whatever your fave oil is)
  4. Add Castor Oil to your deep conditioner for an extra moisturising boost.
I loooove Castor Oil, I bought the Organic, Cold Pressed kind on Amazon from a company called Naissance. And I mainly use it every other day on the ends of my hair before bed...so when I take my satin scarf off in the morning my ends feel super soft and conditioned :-)

Hope you found this post helpful...

Let me know your experience's with Castor Oil.

Until next time follow me on Instagram and Twitter!!!

x


Saturday, 5 July 2014

June Fave's!!!

Hello & Happy Saturday!

Let's get straight into my June favourite's... So these are products I have been using and loving or recently discovered and loving for June  :-)


1. Yes To Tomatoes Blemish Clearing Facial Towelettes - I got these when I was out in New York in January, and I'm so glad I did because I love these facial wipes. I use them after I have removed all of my makeup and I try to get as much of the product out and onto my face (these wipes are literally drenched in liquid so if you give them a good squeeze it all comes pouring out) they have salicylic acid, which treat acne break outs, and witch hazel & tomatoes to help unclog pores to prevent future break outs...and still 98% natural! ;-)
 
2. Vaseline Cocoa Radiant Body Lotion - I was recently introduced to this product from a friend and it is sooooooooo good! It contains pure cocoa butter so the smell is amazing. It is also really rich but still rubs into the skin effortlessly with no greasy aftermath. Perfect!
 
3. ORS Hair Mayonnaise - One of my fave deep conditioners by far (alongside my SheaMoisture restorative treatment) It is enriched with Olive Oil, Egg Protein, Herbs and Wheatgerm Oil (if you are after strong, shiny & healthy natural hair then these ingredients are a necessity!) They are a good balance of proteins and moisture for natural hair. I usually apply a good handful of this product to my hair (middle to ends NOT on the scalp or roots) after washing (or co washing) cover with a plastic cap and leave to penetrate for a good hour or so before rinsing.

4. Jimmy Choo Perfume - I bought this perfume months and months ago and never ever used it...(shame on me!) When I first spray it, it smells sweet and as it develops its warm and spicy with the lingering scent of patchouli. Better yet the smell lasts all day especially if you apply to your pressure points...
 
5. Barry M Nail Paint 'Blueberry Ice Cream' - Perfect summer pastel blue shade, I literally have been wearing this colour for the whole month of June lol suits all skin colours and contrasts nicely with whatever colour outfit you're wearing...;-)
 
6. MAC Mineralize Skinfinish Natural 'Dark' - I have been using this product for years, mainly as a finishing powder over my liquid foundation....however, I only recently realised it has these tiny little shimmers in it...they reflect so nicely in the summer sun, and now the weather is warmer I have been using this to matte out my face during the day too!
 
7. MAC Satin Lipstick 'Captive' - This has not left my handbag...its such a rush for me in the mornings getting ready for work, I often do not have time for a high maintenance lipstick that needs a lip liner and careful application...blah blah. This colour is so forgiving and blends nicely, it looks perfectly applied even if I have quickly applied it on the train to work...and as it is a satin lipstick it glides on smoother and easier than a matter lipstick obviously would, so reapplying it during the day is simple.
 
8. Aloe Vera Gel - There is loadssss of information and positive reviews online in regards to using aloe vera gel on acne and acne scars, so in an effort to remove acne and acne scars from my cheeks, I have incorporated aloe vera gel into my skincare routine. I apply this after my toner, before my moisturiser, and I am noticing a difference in breakouts and my acne scars are disappearing Yay!!!...I have been using it consistently for about 3 weeks so I will keep you updated with a separate blog post.
 
Thanks for reading!
 
Why not comment your fave's too...
 
Are you following me on Twitter or Instagram? If not go follow!
 
Have a good weekend :-) x
 

Saturday, 28 June 2014

Make Up - Contouring using the Sleek Contour Kit

Hey there...

You good???

I am extra specially happy today as yesterday me and my cousin booked our flights to go to New York in October - Woop Woop! (Let me know of any cool places to shop or eat!). I loooooove The Big Apple I was last there in January for my 25th birthday and I'm already going back! :-)

So today I'm sharing what kit I use to contour.....Sleek Contour Kit of course!!!


Contour - subtle but strong or nah?
Why Contour I hear you say?
Contouring is used to add a 'shadow' to where we want to appear thinner and more defined...hollows of our cheeks - this makes our face appear more thinner, contour the jaw line - this can make our jaw and neck appear more chizzled and help blur any double chin we have (I have it and hate it urgh!) We can also contour the sides of our nose to make it appear smaller.
Some people even contour their collarbone to make it stand out more...me personally, I don't do all of that, I do not have the time girl, I just do a lil cheek contour sometimes jaw and nose and I'm done.

Also, I'm not a fan of those mega dark and hard contours on me, I just like it strong but subtle (if ya get me?) - but if you like yours more dark and hard...then girl do you I'm not here to judge ;-). Careful though, only go 2 to 3 shades darker than your skin tone otherwise it will just make you look like you have dirt on your face, and we are NOT going for that look! No sir!
 

What I use...
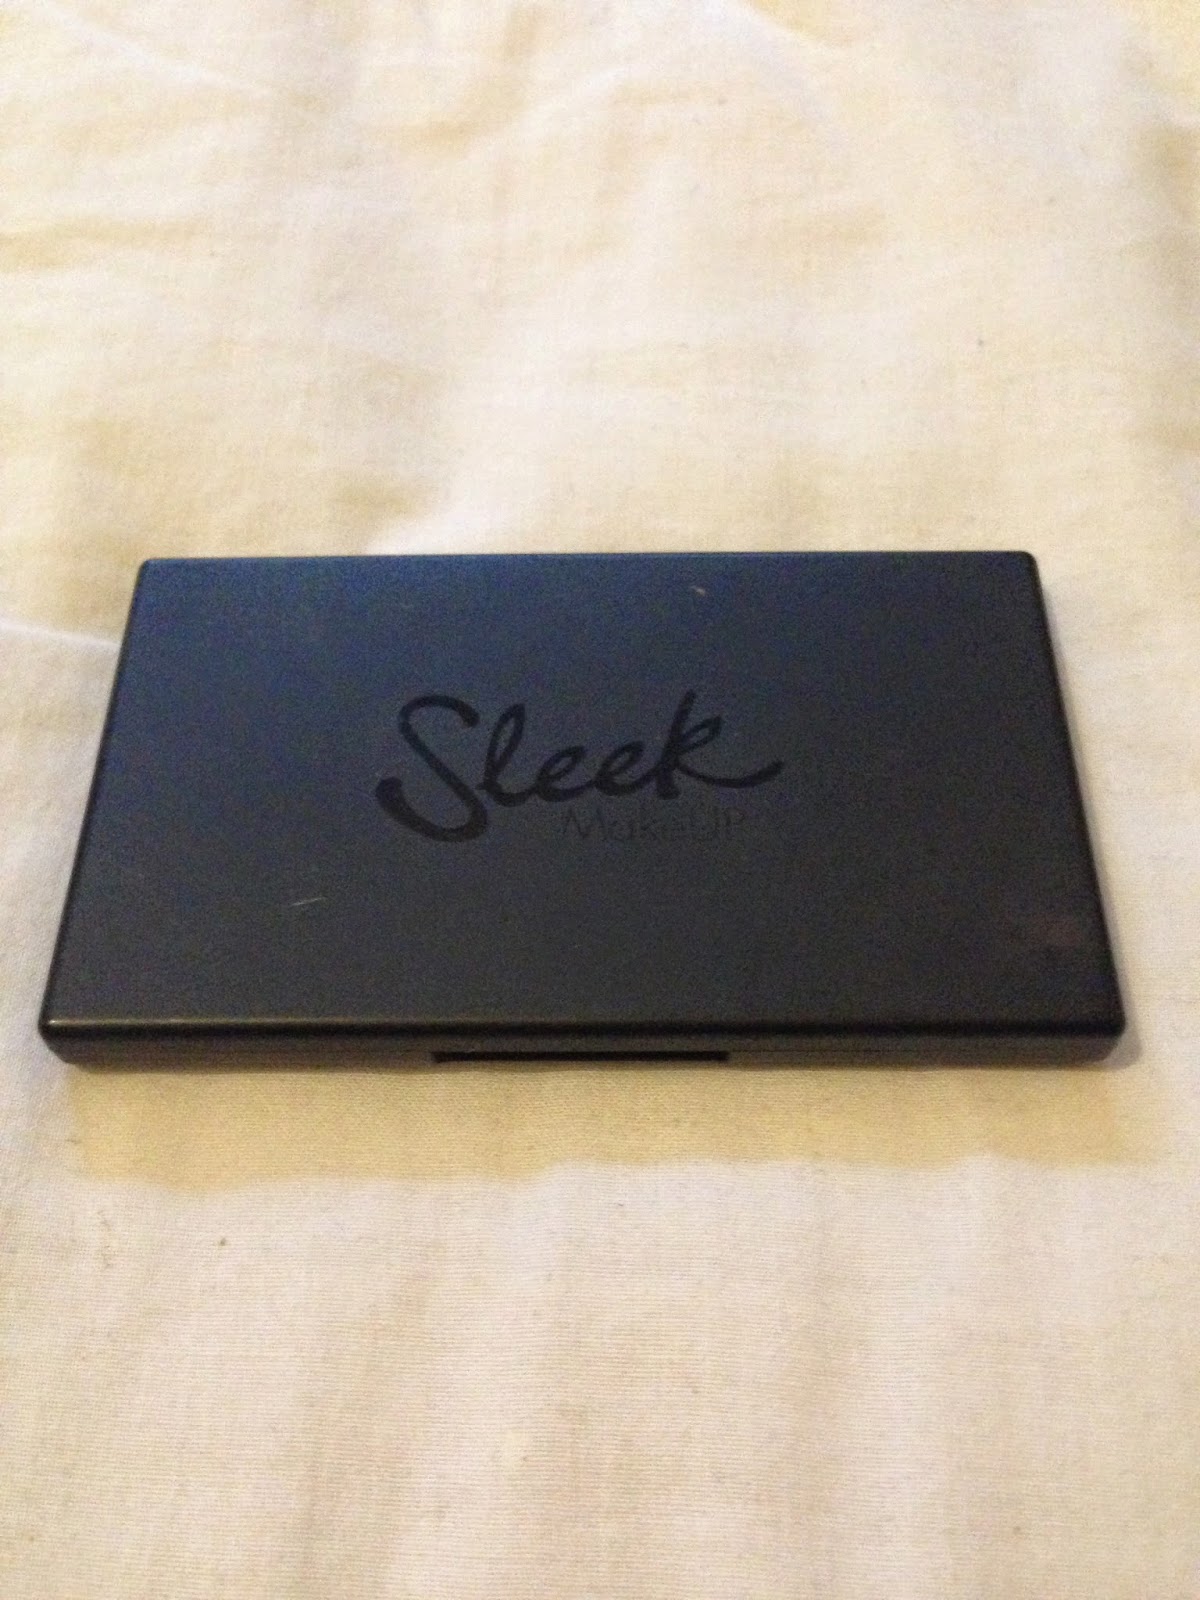
Sleek Face Contour Kit 'Medium'
This contour kit is by Sleek, it's very affordable I got mine here from Superdrug for £9.99 and I got the shade 'medium'.

Left - Contour Powder, Middle - Shimmer highlight, Right - Shimmer bronzer
As you can see on the left I have hit pan lol I use this every time I do a full face make up look, the other 2 shades are shimmery the middle is a highlight and the shade on the right is a shimmery bronzer (I never use the other 2 I don't like shimmer to much). But the matte contouring powder is a God send! I love it, you can use a little for a subtle contour like I do or you can go hard and build it to how you like it.

Real Techniques 'Expert Face Brush'
I like to use my Real Techniques 'Expert Face Brush' (from boots here) and do a strong line down the hollow of my cheek under my cheek bone and then blend. I add more if I need or I blend it out with my Mac Skin Finish powder if I've added to much. I use the same brush to contour my jaw line and a smaller brush for my nose. After contouring pleaseeeee blend! Harsh lines are a no no so blend it out until you are happy with the look...after all it's your face right? :-)

Leave a comment of any tips or tricks you would like to share.

Follow me on Twitter and Instagram!

Thanks for reading...

x

Tuesday, 17 June 2014

Summer Perfume/Fragrance - Marc Jacobs 'Daisy'

Good Evening Beauts ;-)

It was so lovely and sunny in London today.... such a shame I was stuck in the office working instead of laying in the sun... never mind aye.

So, since my Viktor & Rolf 'Flowerbomb' perfume started to dramatically get closer and closer to the bottom of the bottle (Nooooo) I decided to switch to a different perfume for the sunny weather.

I decided to go with 'Daisy' by Marc Jacobs... Any1 have this?

Marc Jacobs 50ml 'Daisy' £42.50 Available Here:


It's such a pretty bottle with the Daisies around the top of the bottle and the gold detail, perfect for keeping out on display, also it looks very cute next to my other perfumes... I love!

Now let's be clear this fragrance isn't a newbie people, it's been out since around 2007, but it's still amazing and relevent.

I would describe this scent as a mellow, fruity, musky smell with a hint of vanilla. It is super duper mellow so it's not over powering or to in your face - very light and fresh (perfect for summer right?)

Fruity notes: - Wild Strawberry and Red Grapefruit
Floral notes: - Jasmine, Violet, Gardenia
Base notes: - Musk, Vanilla, White Woods

Don't be alarmed or put off by the floral or fruity notes in this perfume, they are very light and diluted down by the musk and white woods, which makes it a very fresh, uplifting and an overall feminine smell - so put that overpowering perfume away girl it's finally summer time!

That is all...
Mwah
x

Instagram: @LipsticknTressesxo
Twitter: @LipsticknTresxo

Saturday, 14 June 2014

Natural Hair & Skin Care - Coconut Oil

Hey Hey Hey... :-)

Ahhh it was so nice and warm here in London yesterday, the sun was shining and it was such a nice day...however our friend the rain is back :-(

Anywayz...Lets talk Coconut Oil...Organic,Virgin, Raw, Coconut Oil (that's the real good stuff)

Scientific research has proven that coconut oil has numerous health benefits for the body, inside and out (Google it if you don't believe me honey!). You can use it for Cooking, Cleansing, Moisturising, Hair Care and a whole lot more ;-)

Apparently...a spoonful a day can help with weightloss... I'd love to know if anyone has tried this?


Biona's Raw, Virgin, Organic, Whole nut Coconut Oil.

Skin Care:
Coconut Oil has natural antibacterial, antifungal, antimicrobial properties and moisture retaining capacity, which makes it a great facial cleanser and all over body moisturiser (smother it all over when you are fresh out the shower before you have towel dried). Coconut Oil is proven to help with fading and smoothing dark spots/acne scarring so I use this as a facial cleanser after removing my make-up in the evenings...I'll keep you updated with how it's going.

Rub a small amount between your hands and massage in a circular motion all over the face, (it's great for removing mascara as it will condition your eyelashes too) after massaging your face for a few minutes (Yes a few minutes - take your time) just rinse with warm water or remove with a warm muslin cloth... All done!

Hair Care:
Coconut Oil can help to repair damaged hair as it is one of the small number of natural oils that can actually penetrate the hair shaft and not just coat it, it seals in moisture making hair healthier and prevents hair protein loss...It's amazing right?

I add coconut oil to my water spritz (half water, half coconut oil and 10-15 drops of rosemary essential oil). Melting the solid coconut oil to use as a pre-poo before shampooing and even adding a few spoonfuls to my deep conditioner for an extra boost.

I bought my massive 800g tub from a company called Biona on Amazon. When looking around for Coconut Oil check it is Organic, Cold Pressed, Raw, Virgin, Whole nut Coconut Oil - this ensures all the properties of the Coconut Oil remain and have not been messed with by any bad chemicals some companies use.

I'd love to know what you use Coconut Oil for? And what other natural oils would you recommend? Comment and let us know...

Hope you all enjoy your weekend, may it be sunny at least and not raining (Seriously London?!)

Love,
x

Instagram: @LipsticknTressesxo

Monday, 26 May 2014

Natural Hair Care - My Transitioning Journey 'Back To Natural'

 
Hi peeps! Hope you're all okay - it's raining here in London today (nothing new I here you say) :-(

Today I thought I would give you all some info on my recent 'back to natural' hair journey.

So, my hair is fully natural now (woop woop!) I had my last relaxer in December 2012, my hair was relaxed for about about 5 years, (first relaxed when I was 18, last relaxer when I was 23) It was so damaged and dry I thought forget this! Back to natural for me. To be fair my hair did not need to be relaxed in the first place but hey you live and you learn right?

Jan 2013 - A month after my last relaxer
Don't let the above pic fool you! My hair was so thin at the edges and not growing to its full potential, so I decided no more relaxers and I was NOT going to big chop. I would just ride with it and chop off chunks of relaxed hair as it grew out.
The first few months were the hardest once the re growth came in, so I used braids as my protective style for a while.


I can't lie - transitioning was so hard! Dealing with the two different textures of hair was the most difficult, especially on wash days. Combing through the conditioner would take me FOREVER! (BUT it was worth it for the end result, so all my transitioners...don't give up!)

January 2014 - 3/4 natural, after chopping off a few inches and flat ironed 

Feb 2014 - No more relaxed ends!

After chopping off ALL the relaxed ends i was sooooooo happy! My hair was so much easier to manage, easier to comb through with deep conditioner and easier to style. (Finally!!)
                                                
May 2014 - Detangled with deep conditioner
Ive noticed now my hair is fully natural it grows so much quicker! From Jan 2014 to now May 2014 it has almost doubled in length.... check out the below pic ;-)
 
May 2014 0- Flat ironed
 
May 2014 - Not Flat ironed
So peeps, it took me 1 and a half long years to go fully natural to shoulder length hair without a big chop, I will upload a separate post of hair products and how I style my natural hair soon.

Please comment on how you found your transitioning journey and any tips for others. Sharing is caring :-)

Love xo

Instagram: @LipsticknTressesxo